
How to Film Yourself Alone with Just an iPhone
To film yourself alone, you need to solve three problems: keeping the phone steady, framing a shot you can't see, and starting and stopping the camera while you're in it. Prop or mount your iPhone at eye level, frame with the rear camera and the grid where you can, mark your spot on the floor, and control the camera hands-free — with the self-timer, a remote, or a voice-controlled camera app — shooting in short takes rather than one long one. This guide walks through each step, with the honest trade-offs of every option.
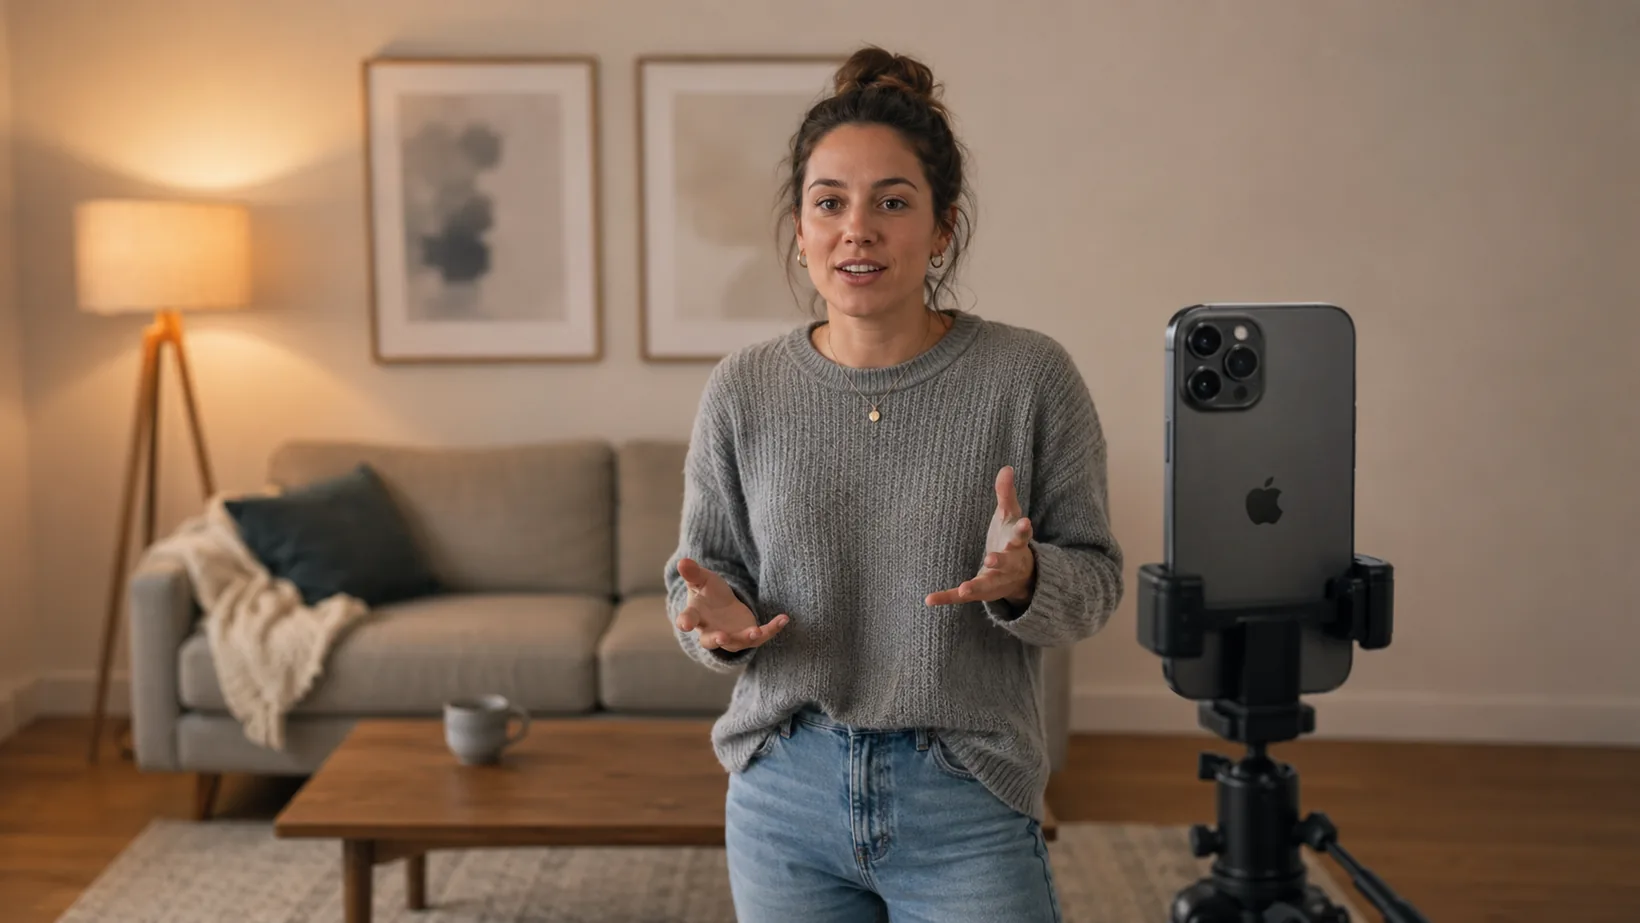
1. Position and stabilise the phone
Hand-held selfie footage has a ceiling: your arm shakes, the framing wanders, and the front camera is usually the weaker of the two. Putting the phone down — anywhere stable — instantly makes your footage look more deliberate.
- Eye level, or a touch above. A lens pointing up at your chin is the most common solo-filming mistake. Raise the phone on whatever you have until the lens sits level with your eyes.
- A small phone tripod is the single best purchase. Any cheap one with a phone clamp does the job for talking-head content. A flexible-leg model can also wrap around shelves and door frames.
- No tripod? Improvise. Lean the phone against a stack of books, prop it in a mug, wedge it on a shelf or window sill, or rest it against a water bottle. A small blob of adhesive putty behind the phone stops it sliding.
- Prefer the rear camera when you can. On most iPhones it captures noticeably better footage than the front camera. The trade-off is that you can't see the screen — sections 2 and 3 below solve that.
- Match the orientation to the platform before you start. Vertical for TikTok, Reels and Shorts; horizontal for standard YouTube. Deciding this first saves you from awkward crops later.
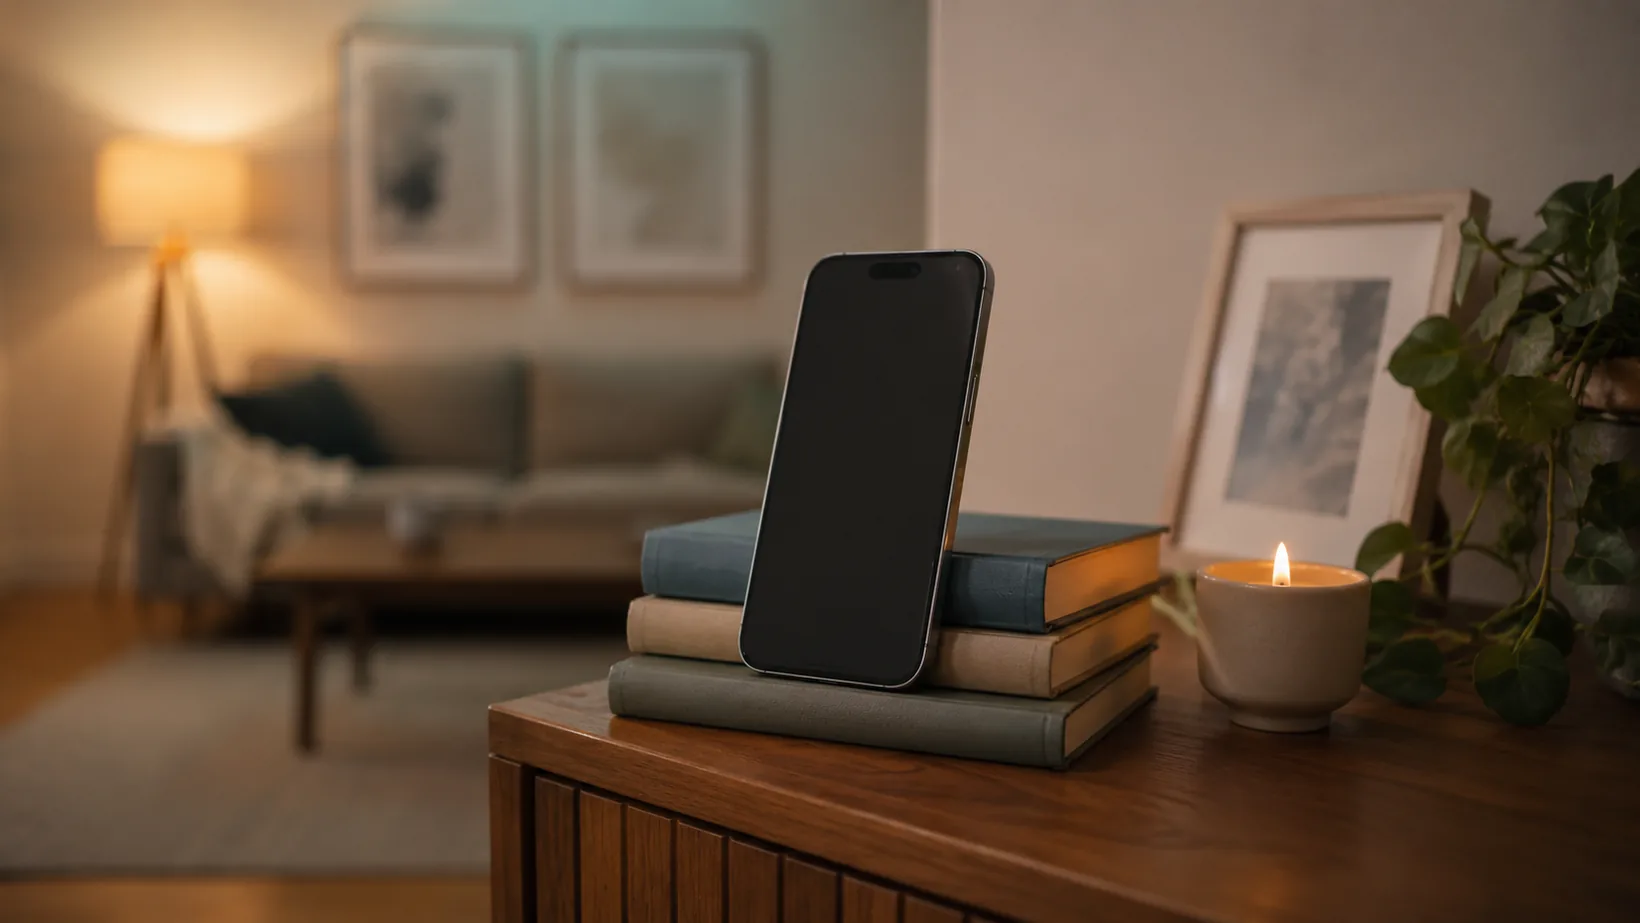
2. Frame yourself with no one behind the camera
Framing solo is guesswork unless you make it mechanical. Three habits fix it:
- Turn the grid on. Use the rule of thirds: put your eyes roughly on the top horizontal line, not dead centre. Leave a little headroom — a small gap between the top of your head and the top of frame — but not so much that you sink into the bottom half.
- Mark your spot. Frame the shot, stand where you'll perform, and put a piece of tape or a small object on the floor at your feet. Every take, you return to exactly the same mark — no more drifting out of frame.
- Shoot a five-second test. Record a short clip, walk back, and check it. It feels slow the first time; it's far faster than discovering the top of your head was cropped for ten minutes of takes.
Plan the aspect ratio before you shoot. A 9:16 vertical for TikTok and Reels, 16:9 for YouTube, 4:5 for an Instagram feed post. If you'll post one performance to several platforms, keep your action inside the narrowest crop you plan to publish. In Viddycom you can say “frame for TikTok” or a ratio like “9:16” and a live overlay appears in the viewfinder showing exactly what that crop keeps — it's a framing guide on the preview, not a change to the saved file, so you shoot once and post everywhere.
3. The real problem: starting and stopping while you're in the shot
Stabilising and framing are solvable in five minutes. The problem that never quite goes away is the trigger: the shutter is on the phone, and you are three metres away from it. Here are the honest options.
| Method | How it works | The catch |
|---|---|---|
| Self-timer | Built into the iPhone Camera app; 3- or 10-second countdown, then it fires. | The run-back problem: sprint into position, settle, and guess when it fires. Photos only — it can't stop a video for you. |
| Bluetooth remote | A small paired clicker triggers the shutter from a distance. | One more thing to buy, charge, hold and hide from the camera — and it's typically a single shutter button, so no zoom, flash or camera flip. |
| Apple Watch (Camera Remote app) | Your wrist becomes a live viewfinder and shutter for the iPhone camera. | Requires an Apple Watch within Bluetooth range (about 10 metres), and the glance-and-tap at your wrist is often visible in the shot. |
| Ask someone | A second pair of hands taps the shutter. | Defeats the point — the whole reason you're reading this is that there isn't someone. |
| Voice control | The camera listens and fires when you tell it to. | Your spoken commands land on the clip's audio (trim the ends in the edit), and the phone needs to hear you clearly over loud music or competing voices. |
The self-timer, in detail
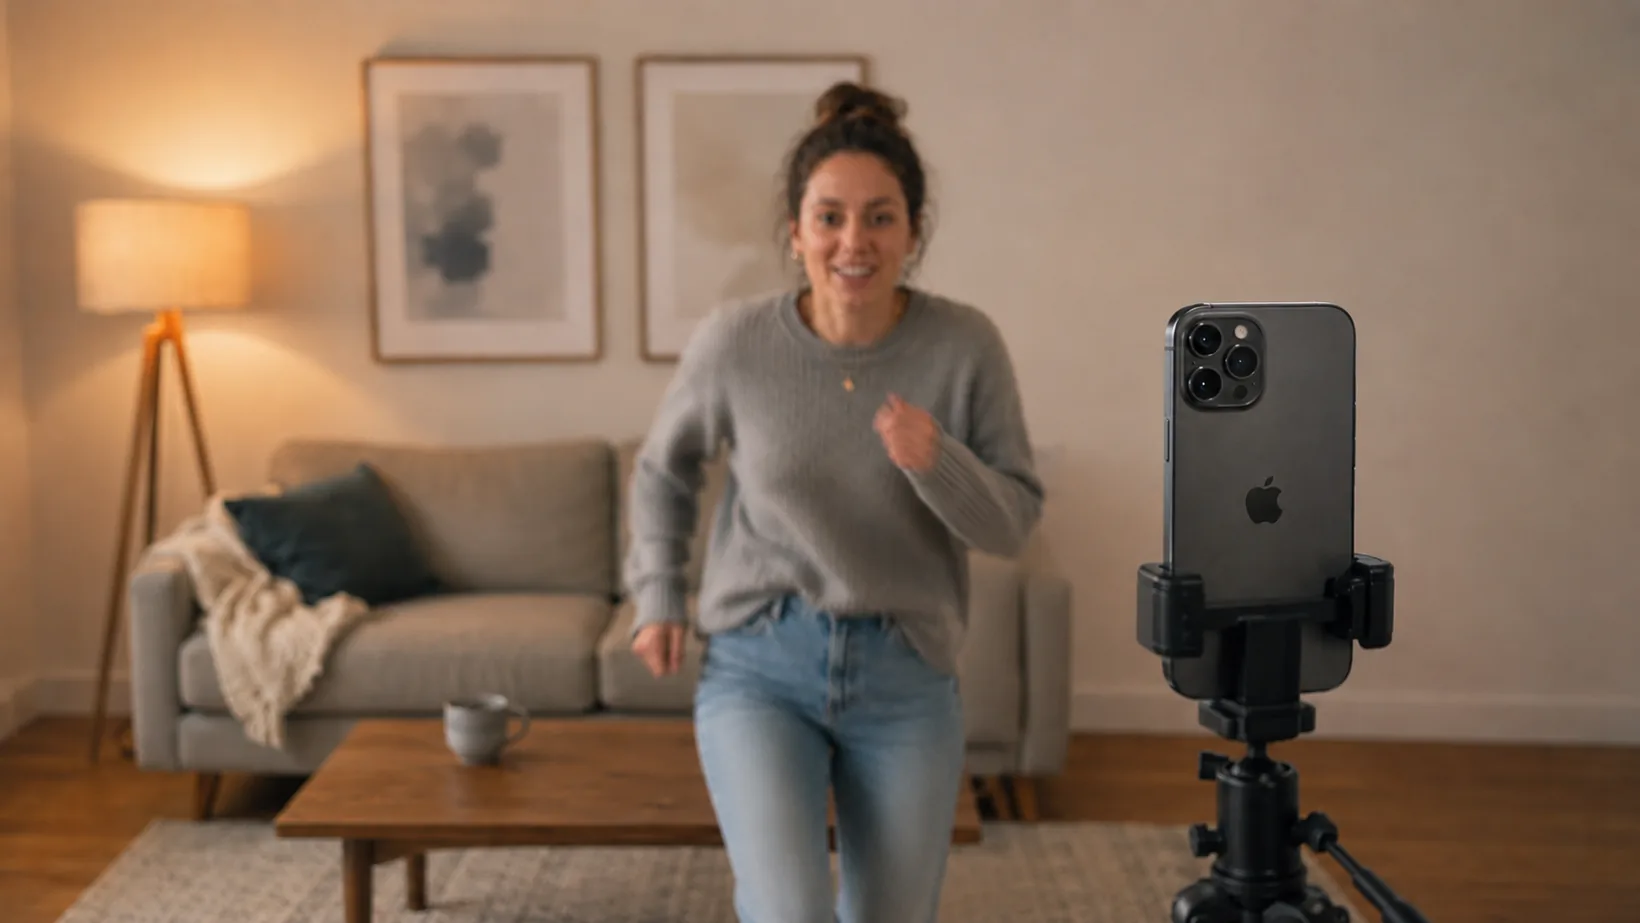
The built-in timer is fine for the occasional posed photo, with two caveats. First, the run-back: you tap, sprint, and compose yourself against a countdown you can't see. Second, a quirk worth knowing: at the time of writing, the iPhone Camera's self-timer takes 10 photos in a row by default in regular photo mode, leaving you to cull near-identical frames afterwards — you only get a single frame if Live Photos or the flash is switched on. And for video the timer doesn't help at all: nothing stops the recording until you walk back to the phone, which means every clip ends with you looming towards the lens.
Where voice control fits
Voice removes the trigger problem entirely: nothing to hold, nothing strapped to your wrist, nothing to run back to. You get in position, say “start recording”, do your thing, and say “stop recording”. The commands are audible at the ends of the clip, so you trim a second off each end in the edit — which you'd usually be doing anyway.
Full disclosure: Viddycom is our app. It's the first natural-language, voice-controlled iOS camera app, which in practice means you talk to it the way you'd talk to a person holding your phone. It listens continuously by default — open the app and it's ready, no wake word needed between commands (prefer it to listen only when addressed? Switch on the optional “Show Time” wake word in Settings). It understands natural phrasing, so “take a photo”, “snap”, “zoom to 2x” and “flip camera” all work, and you can chain up to three commands in one sentence — “blur the background, zoom in, then take a photo”. That combination matters for the rear-camera problem from section 1: you can adjust zoom, flash, grid and framing overlays by voice while standing on your mark, without ever seeing the screen.
Viddycom costs $4.99/month or $39.99/year with a 3-day free trial, on iPhone (iOS 18.6+); it's best on iPhone 15 Pro or newer with Apple Intelligence, where the natural-language understanding runs on-device. Android is coming later.
3-day free trial — then $4.99/month or $39.99/year. iPhone, iOS 18.6+.
4. Audio and lighting basics for solo shooters
Viewers forgive average picture far more readily than bad sound or a silhouette. Both are mostly free to fix:
- Get close to the phone's mic. Phone microphones fall off quickly with distance. Within about a metre you'll sound present and clear; across the room you'll sound like you're in a bathroom. If your framing forces distance, consider a small clip-on mic.
- Tame the echo. Bare walls and hard floors ring. A rug, curtains, a sofa, even a wardrobe of clothes behind the camera all soak up reflections.
- Face a window. Soft daylight on your face is the cheapest good lighting there is. Put the phone between you and the window, never the other way round — a window behind you turns you into a silhouette.
- Avoid overhead-only light. A ceiling bulb directly above carves shadows under your eyes. A cheap desk lamp bounced off a wall in front of you evens things out.
Convenient side effect: the placement that sounds best — phone within about a metre of you — is also the range where voice control is most reliable.
5. An efficient solo workflow
The biggest time sink in solo filming isn't the filming — it's the walking back and forth, and the pile of unusable footage you sort through afterwards. A tighter loop:
- Shoot in short takes, not one long one. One idea or one sentence per take. Short takes are easier to redo, easier to review, and easier to cut together than a ten-minute take with three good moments buried in it.
- Review as you go. Check the first take of each new setup before recording five more. One bad assumption — framing, focus, audio — multiplied across a whole session is the most expensive mistake in solo work.
- Discard duds immediately. Deleting bad shots in the moment beats facing 200 of them later. In Viddycom you can say “don't save that” or “delete the last photo” within about 10 seconds of a capture and it's gone — no trip back to the phone.
- Take several and pick the best. When you need one good frame — a thumbnail, a jump shot, a pose — take many and pick later. Say “take 10 photos” in Viddycom (any number up to 100) and an on-screen counter tracks each shot as it fires.
- Batch your setups. Once the phone, light and framing are right, film everything that uses that setup — multiple videos' worth if you can — before moving anything.
Frequently Asked Questions
How do I record myself without holding my phone?
Prop or mount your phone — a small tripod at eye level is ideal, but a shelf or a stack of books works — then trigger the camera without touching it. Your options: the built-in self-timer (photos only), a Bluetooth remote, the Apple Watch Camera Remote app, or a voice-controlled camera app such as Viddycom, which takes photos and starts or stops recording when you ask it to.
How do solo creators start and stop recording?
Most solo creators either tap the shutter and trim the walk-over in the edit, use a Bluetooth remote or an Apple Watch as a trigger, or use voice control. Voice is the only option that is fully hands-free with nothing to hold: with Viddycom you say “start recording” when you're set and “stop recording” when you're done, then trim the spoken commands off the ends in the edit.
What's the best camera setup for filming alone at home?
An iPhone on a small tripod at eye level, facing a window for soft natural light, within about a metre of you for clear audio. Use the rear camera if you can — it usually records better footage than the front one — turn the grid on to frame the shot, mark your spot on the floor, and control the camera hands-free so you never have to leave position.
How do I stay in frame when filming alone?
Frame the shot first, mark your position with tape or an object on the floor, and record a five-second test to check your framing before the real take. Turn the grid on and leave a little headroom above your head. If you move around while filming, frame wider than feels natural, and re-check with another short test clip whenever you move the phone.
More guides
- Viddycom voice commands — the full list — every verified command, from “take a photo” to chained sentences.
- The best voice-controlled camera apps — an honest comparison of what's out there.
- Viddycom vs Siri and iPhone Voice Control — what the built-in tools can and can't do for the camera.
- Viddycom home — demo clips, pricing, and the full FAQ.
- Press kit — facts, blurbs, and reviewer notes.
Last updated: September 1, 2026. Third-party details (iPhone self-timer behaviour, Apple Watch Camera Remote) were checked against Apple documentation and current reporting on July 2, 2026 and may change with iOS updates.